Transferring photos from your iPhone to your computer is a common task for many users. Whether you’re looking to free up storage space on your device or want to edit and organize your images on a larger screen, having a reliable method for transferring photos is essential.
In this comprehensive guide, we’ll explore the most effective methods for transferring photos from your iPhone to your computer, covering both wired and wireless solutions that work reliably for all iPhone models and Windowscomputers.
By the end of this guide, you’ll be equipped with the knowledge to efficiently move your precious memories to your computer for safekeeping, editing, or organization using the right app or method for your needs, managing your files with ease.
With the high-quality cameras on modern iPhones, the need to transfer photos to a PC becomes increasingly important for managing storage space. Modern iPhones capture high-resolution photos that quickly consume valuable storage space, making regular transfers to your PC essential for maintaining optimal device performance.
Freeing Up Storage Space on Your iPhone
Transferring photos to your PC helps free up storage space on your iPhone, allowing you to continue taking new photos without running out of room. As “The more you capture, the more you need to manage”, freeing up space is crucial for iPhone users who take a lot of photos or videos.
Creating Backups for Your Precious Memories
By transferring your iPhone photos to your computer, you create a backup of your precious memories. This protects against device loss, damage, or theft, ensuring your photos remain safe. As noted,
“Backing up your photos is like insuring your memories; you hope you never need it, but you’ll be glad it’s there if you do.”
Editing Photos on a Larger Screen
Transferring photos to your PC also enables you to edit them on a larger screen using more powerful photo editing applications. Desktop photo editing applications offer more powerful features and precision than mobile apps, making your computer the ideal platform for enhancing and perfecting your images.
Understanding Your Photo Transfer Options
There are multiple ways to transfer photos from your iPhone to your computer, each with its own advantages. The choice of method depends on several factors, including the number of photos, available storage space, and desired photo quality.
Wired vs. Wireless Methods
Wired transfer methods using USB cable offer faster speeds and greater reliability, ideal for large photo libraries. In contrast, wireless methods provide convenience without physical connections, though they may be slower and dependent on stable network connectivity.
Cloud-Based vs. Direct Transfer
Cloud-based solutions like iCloud Photos and Google Photos automatically sync your photos across devices, but may compress image quality. Direct transfer methods maintain original quality without needing internet, but require manual initiation. For more information on using iCloud, visit Apple Support.
Factors to Consider When Choosing a Method
When selecting a transfer method, consider factors like the number of photos from your iPhone, available storage on your computer, and whether you need automatic or manual transfers. Your choice will depend on your specific needs and preferences.
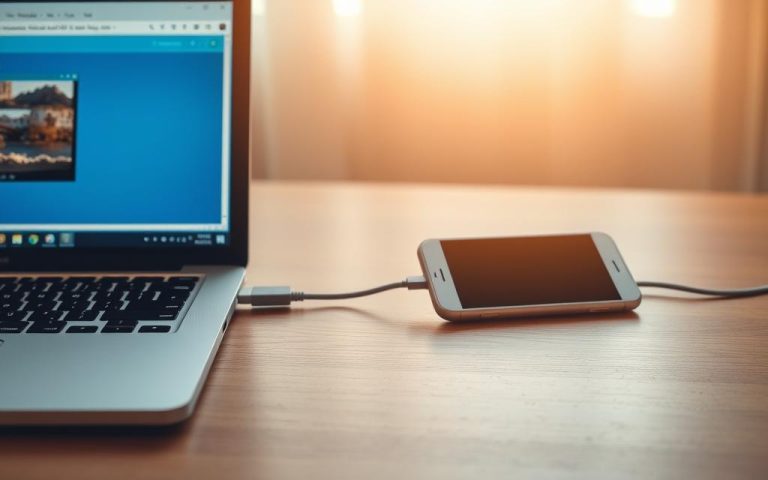
How Do I Transfer Photos from iPhone to PC Using USB Cable
To transfer photos from your iPhone to your computer, a USB cable provides a direct and efficient connection. This method is not only straightforward but also maintains the original quality of your photos without any compression.
Required Equipment and Preparation
Transferring photos via USB cable requires a few simple pieces of equipment: your iPhone, a compatible USB cable, and your Windows PC. Before you start, ensure your iPhone is unlocked and tap “Trust This Computer” when prompted to establish a secure connection.
Step-by-Step Guide to USB Transfer
First, connect your iPhone to your PC using the USB cable. If prompted, unlock your iPhone and tap “Trust” to allow the connection. Windows will automatically recognize your iPhone as an external device, allowing you to access your photos through File Explorer. Simply navigate to your iPhone’s folder, select the photos you wish to transfer, and copy them to your desired location on your PC.
Troubleshooting Common USB Connection Issues
If your computer doesn’t recognize your iPhone, try troubleshooting steps such as using a different USB port, updating your iPhone’s iOS version, or restarting both devices. These simple steps can resolve most connection issues and get your photo transfer process back on track.
Using a USB cable to transfer photos is particularly beneficial for large photo libraries, as it offers significantly faster transfer speeds compared to wireless methods. This makes it an ideal choice for photographers who need to transfer many high-quality images.
With iCloud Photos, you can enjoy a wireless and automatic photo transfer experience between your iPhone and PC. This service keeps your photos and videos safe, up to date, and available across all your devices.
Setting Up iCloud Photos on Your iPhone
To start using iCloud Photos, enable the feature in your iPhone settings. This allows your iPhone photos to be uploaded to iCloud, making them accessible on other devices.
Accessing iCloud Photos on Your Windows PC
On your Windows PC, install the iCloud for Windows app from the Microsoft Store. This app allows you to access your iCloud Photos on your computer, providing a seamless integration between your Apple devices and Windows PC.
Managing Photo Storage and Optimization
iCloud Photos offers options to store either full-resolution photos or device-optimized versions. You can choose to balance quality with storage space, depending on your needs. Ensure you have sufficient iCloud storage to accommodate your photo library.
By using iCloud Photos, you can effortlessly sync your iPhone photos with your PC, eliminating the need for manual transfers or cables.
iTunes offers a comprehensive solution for managing your iPhone content, including photos, on your Windows PC. This method allows for a straightforward transfer of photos between devices.
Installing and Setting Up iTunes on PC
To start transferring photos, you first need to install iTunes on your PC. You can download it from Apple’s official website. Once installed, open iTunes and sign in with your Apple ID credentials. This setup process is crucial for syncing your iPhone with your PC.
Syncing Photos Between iPhone and PC
After setting up iTunes, connect your iPhone to your PC using a USB cable. Click on the “iPhone” icon in iTunes, and you can then choose to sync your photos. You can select specific folders from your computer to transfer to your iPhone, or vice versa, giving you control over which images are synchronized.
Limitations of the iTunes Method
While iTunes is a reliable method for transferring photos, it has its limitations. The process can be sluggish, and there’s a risk of data loss if existing files on your iPhone are overwritten. Additionally, many users find iTunes less flexible compared to other transfer methods.
Using Third-Party Transfer Tools
For users seeking a more streamlined and feature-rich experience, third-party transfer tools offer a robust solution for moving photos from iPhone to PC. These tools are designed to simplify the transfer process, offering more flexibility and functionality than native methods.
MobileTrans is a popular third-party tool that stands out for its user-friendly interface and comprehensive features. It allows users to transfer photos from PC to iPhone and vice versa without losing quality or organization. The setup involves downloading and installing the application, connecting the iPhone via USB, and following the on-screen instructions.
Step-by-Step Photo Transfer with MobileTrans
To transfer photos using MobileTrans, users simply need to select the file transfer option, choose “photos” as the file type, and initiate the transfer. MobileTrans will then transfer photos from the iPhone to the PC or vice versa, maintaining the original organization.
Other Popular Transfer Tools Worth Considering
While MobileTrans is a robust option, other third-party tools offer similar functionalities. Users may also consider alternatives based on their specific needs, such as selective photo transfer or preserving metadata during the transfer process.
Cloud Services for Photo Transfer
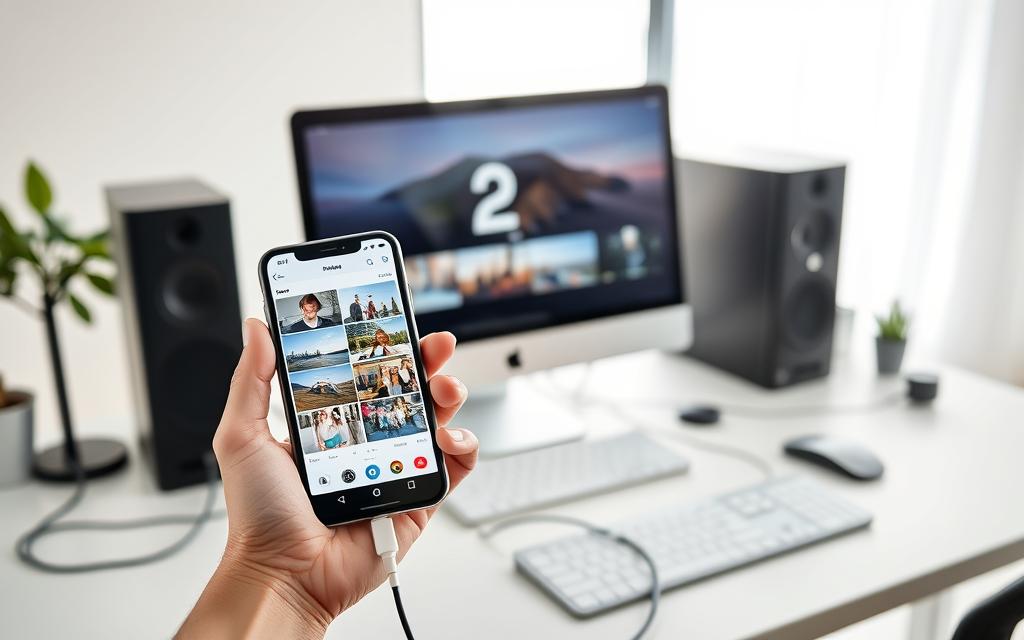
With cloud services, transferring photos between your iPhone and PC has never been easier or more secure. Cloud services provide a wireless solution that not only transfers your photos but also backs them up, ensuring they’re safe and accessible across devices.
Google Photos Method
Google Photos offers a convenient way to transfer photos. To start, sign in to your Google account on both your iPhone and PC. On your PC, go to Google Photos and upload your photos to the cloud. Then, on your iPhone, download the Google Photos app and sign in with the same account to access your photos.
Dropbox is another reliable cloud service for transferring photos. Install Dropbox on both your PC and iPhone, and sign in with the same account. Create a folder on your PC for the photos you want to transfer, and they will be accessible on your iPhone within the Dropbox app.
OneDrive integrates seamlessly with Windows, making it a great option for PC users. Install the OneDrive app on your iPhone and sign in with your Microsoft account. Navigate to the folder where your photos are stored on OneDrive, select the photos you want, and download them directly to your iPhone.
Cloud services like Google Photos, Dropbox, and OneDrive not only facilitate photo transfer but also offer additional features like automatic syncing and backup. While they may compress photos to save space unless you opt for premium plans, they provide a convenient and secure way to manage your photos across devices.
Alternative Transfer Methods
When primary methods fail, alternative transfer methods can save the day. These methods might not be the most efficient, but they can be lifesavers in certain situations.
Email Transfer: Simple but Limited
Email transfer is a straightforward method to send a small number of photos from your iPhone to your PC. You can attach photos to an email and access them on your computer. However, this method has significant limitations, including file size restrictions and potential quality reduction.
Bluetooth Transfer: Wireless but Slow
Bluetooth transfer offers a wireless option that doesn’t require internet connectivity. To use this method, enable Bluetooth on both your PC and iPhone, pair the devices, and then transfer photos. Although it’s a useful option when Wi-Fi isn’t available, Bluetooth transfer is considerably slower than other methods.
AirDrop Alternatives for Windows Users
For Windows users who miss Apple’s AirDrop functionality, alternatives like Nearby Sharing (built into Windows 10/11) provide similar wireless transfer capabilities between compatible devices. This feature allows for easy sharing of files, including photos, between devices.
Method
Speed
Limitations
Email Transfer
Fast
File size restrictions, quality reduction
Bluetooth Transfer
Slow
Slow transfer speed
Nearby Sharing
Fast
Compatibility issues
Conclusion: Choosing the Right Transfer Method for Your Needs
When it comes to transferring photos from your iPhone to your Windows PC, the best method depends on your specific needs. You have various options to consider, including USB cable transfers, cloud services, and third-party tools.
For large collections, USB cable transfers offer speed and reliability. On the other hand, cloud services provide convenience for regular, automatic syncing. Consider your internet connection quality when choosing between wired and wireless methods.
To copy photos from your iPhone to your computer, you can use direct transfer methods like USB or third-party tools, which typically outperform cloud services unless you’re paying for premium storage plans. For more information on transferring photos and videos, visit https://casebx.com/blogs/how-to/how-to-transfer-photos-videos-from-iphone-to-pc.
Ultimately, establishing a regular photo transfer routine helps maintain your iPhone’s performance while ensuring your precious memories remain safely preserved on your Windows PC.
FAQ
What is the easiest way to transfer photos from my iPhone to my PC?
Using a USB cable is one of the simplest methods to transfer photos from your iPhone to your PC. Simply connect your iPhone to your PC, and your computer should recognize it as a device, allowing you to access and transfer your photos.
Can I transfer photos wirelessly from my iPhone to my PC?
Yes, you can transfer photos wirelessly using cloud services like iCloud, Google Photos, or Dropbox. You can also use third-party transfer tools that support wireless transfer.
Why is my iPhone not being recognized by my PC when I connect it via USB?
If your iPhone is not being recognized by your PC, try restarting both devices, checking your USB cable for damage, or updating your iPhone’s operating system and iTunes to the latest version.
How do I access my iCloud photos on my Windows PC?
To access your iCloud photos on your Windows PC, you need to set up iCloud on your PC by downloading the iCloud for Windows app, then sign in with your Apple ID and password.
Are there any limitations to using iTunes to transfer photos?
Yes, using iTunes to transfer photos has some limitations, such as requiring a USB connection and potentially overwriting existing data on your iPhone or PC if not managed correctly.
Can I use third-party apps to transfer photos from my iPhone to my PC?
Yes, there are several third-party apps available, such as MobileTrans, that can help you transfer photos from your iPhone to your PC. These apps often provide more flexibility and features than the standard methods.
Is it possible to transfer videos along with photos from my iPhone to my PC?
Yes, most of the methods described, including USB transfer, iCloud, and third-party apps, allow you to transfer both photos and videos from your iPhone to your PC.
How can I ensure that my photos are transferred safely and securely?
To ensure safe and secure transfer, use trusted methods like USB transfer or reputable cloud services, and always verify that you’re signing into legitimate services with your credentials.
Keeping your computer running smoothly requires regular maintenance, particularly when it comes to drivers. Outdated drivers can lead to performance issues and hardware compatibility problems. Updating your drivers is a straightforward process that can significantly improve your system’s performance. For those wondering how to update drivers on PC, the process involves using built-in Windows tools…
Transferring photos and videos from your iPhone to your computer is essential to free up valuable storage space on your device. This comprehensive guide will walk you through three reliable ways to do so without losing quality or metadata. Whether you prefer a direct connection, cloud-based solution, or specialized software, this article covers all the…
The term Personal Computer has become an integral part of our daily lives. Originally coined to distinguish standalone computing machines for individual users, the term has evolved significantly over the years. The acronym “PC” now encompasses not just desktops and laptops but also advanced hybrid devices used across various industries. As technology continues to advance,…
Understanding your computer’s specifications is crucial for ensuring software compatibility, planning hardware upgrades, and troubleshooting performance issues. Your system’s specs provide vital information about its capabilities and limitations. This comprehensive guide will walk you through various methods to check your PC specs, from built-in Windows tools to third-party applications. You’ll learn how to find detailed…
Gamers often face a daunting question when considering new game purchases: whether their computer can handle the latest titles. Checking system requirements is crucial to avoid wasting money on games that won’t run properly. Understanding your computer’s specifications and the requirements of the game is essential. Fortunately, compatibility checking tools have evolved, making it simpler…
Moving photos from your iPhone to your computer is a common task, but it can be daunting with the various methods available. This comprehensive guide is designed to simplify the process for Windows users. We’ll explore multiple approaches, including wired and wireless transfer options, to cater to different user preferences. Native Windows tools, Apple software,…


")