A system image serves as a lifeline when your Windows environment becomes unstable or corrupted. This complete snapshot of your drive includes the OS, settings, programs, and files—ensuring a full recovery when disasters strike.
Unlike file-level backup, this process reinstates everything at once. Pre-planning is crucial. Regular updates to your system image keep it aligned with recent changes, including critical Windows updates.
External storage formatted in NTFS is required. ASUS and other manufacturers recommend dedicated drives for reliability. Whether facing a failed update or malware attack, this method delivers a clean slate.
Compatible with Windows 10 and 11, the legacy “Backup and Restore” tool simplifies the workflow. Follow this guide to navigate preparation, execution, and troubleshooting—minimizing downtime while safeguarding data.
A system image acts as a complete snapshot of your entire Windows setup. It captures every detail, from the operating system to installed programs and personal files. This makes it invaluable for full-scale recovery when critical failures occur.
Think of a system image as a byte-for-byte copy of your storage drive. It includes boot sectors, partitions, and all system files. Unlike partial backups, this method preserves your entire environment exactly as it was when the image was created.
Manufacturers like ASUS confirm these images contain Windows, settings, applications, and user data. However, they lack flexibility—you can’t retrieve single files. Everything gets restored together.
System Image vs. Other Backup Methods
Different backup strategies serve unique purposes:
File History: Saves multiple versions of documents but ignores system files
Recovery Drive: Only reinstalls the OS without personal data
Restore Points: Roll back system settings but leave files unchanged
For comprehensive protection, system image recovery outperforms these alternatives. It recreates your complete digital workspace after major crashes or malware attacks.
Storage demands are higher—often exceeding 100GB. Regular updates ensure security patches remain current in your backup. While not ideal for daily file retrieval, this method shines for disaster recovery scenarios.
Preparing for System Image Restoration
Proper preparation ensures a smooth Windows recovery process. Selecting the right tools and storage minimizes risks and maximizes efficiency. Follow these steps to set up your backup environment correctly.
Choosing the Right Storage Medium
Not all storage options work equally well for system image backups. Speed, capacity, and reliability matter. Here’s a comparison of popular choices:
Storage Type
Capacity
Speed
Best For
External HDD
1-5TB
Medium
Budget-friendly local backups
NVMe SSD
500GB-2TB
Fastest
Frequent large backups
NAS
4TB+
Variable
Network-accessible redundancy
USB Flash
32-256GB
Slow
Boot media only
ASUS recommends using separate drives for boot media and system images. Their support documentation specifies a 2GB minimum for the boot USB drive.
Creating a System Repair Disc or USB
Windows requires bootable media to start the recovery process. Follow these steps to create it:
Connect a blank USB drive (minimum 8GB recommended)
Search for “Recovery Drive” in the Start menu
Select “Back up system files” when prompted
Choose your connected drive and click “Create”
The process may take 20-60 minutes depending on your system. Store this disk in a safe location—you’ll need it for troubleshooting.
For modern PCs without optical drives, external DVD units work for repair discs. However, USB options offer faster performance and easier updates.
Remember to verify your network credentials if storing backups on NAS devices. Proper authentication ensures access during critical Windows recovery scenarios.
How to Restore Your PC Using a System Image
System image recovery begins with accessing advanced startup options. This process reinstates your entire Windows environment, including apps and settings, from a previously saved snapshot. Precision matters—each step ensures data integrity and minimizes downtime.
Accessing Advanced Startup Options
For Windows 10, navigate to Settings > Update & Security > Recovery. Click “Restart now” under Advanced Startup. Windows 11 users should go to System > Recovery instead.
ASUS devices may require a bootable USB drive. Insert the media, power on, and press F2 or ESC to enter BIOS. Select the drive under Boot Priority.
Method
Steps
Notes
Windows 10/11
Settings > Recovery > Advanced Startup
No external media needed
ASUS Bootable USB
BIOS > Boot Priority > USB Drive
Requires pre-made repair disk
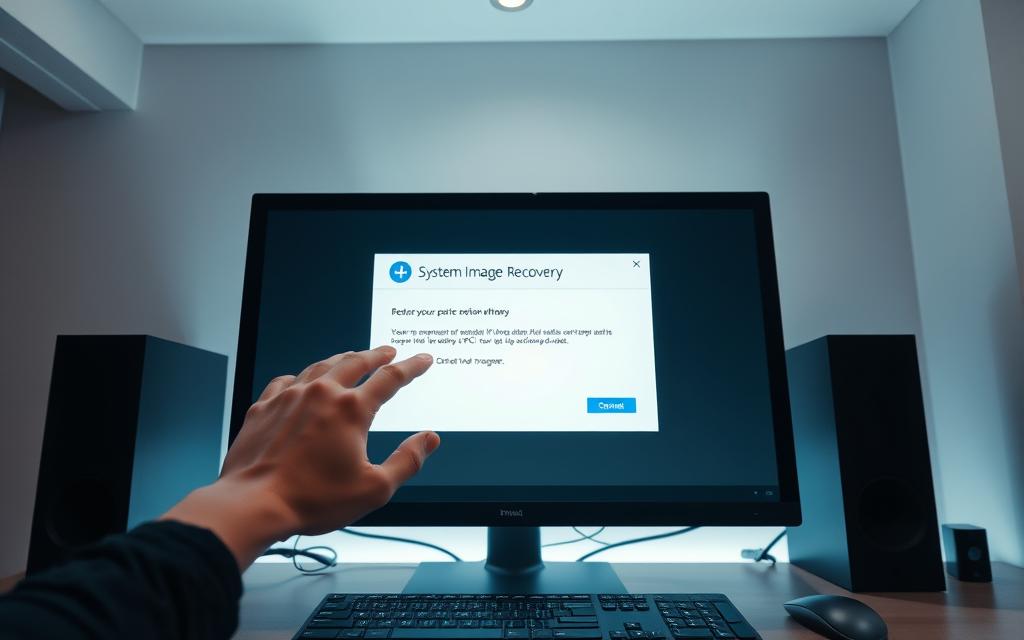
Selecting the Correct System Image
In the recovery environment, choose Troubleshoot > Advanced Options > System Image Recovery. Windows often auto-detects backups in the WindowsImageBackup folder.
For manual selection:
Click “Select a system image”
Browse to the external drive or network location
Verify the backup date and size
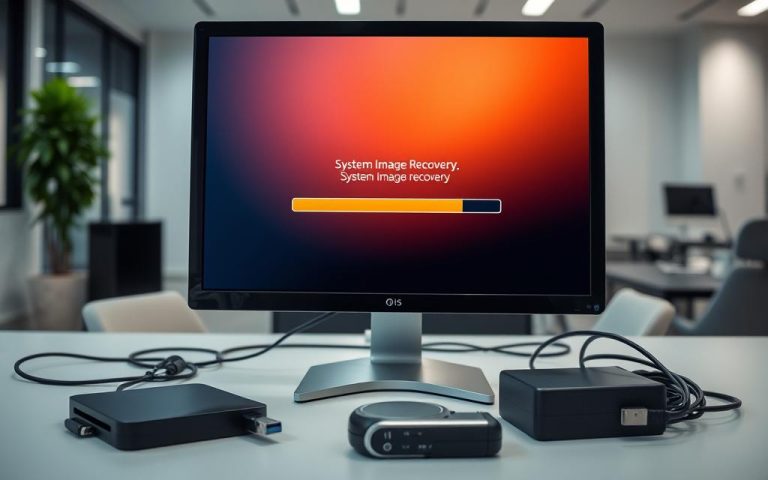
Completing the Restoration Process
Confirm the target hard drive and proceed. The process may take hours—avoid interruptions. Post-restoration, verify:
System boots correctly
Files and apps are intact
Windows updates are reapplied
Warning: All current data on the target drive will be overwritten. Ensure critical files are backed up separately.
Troubleshooting Common Restoration Issues
Encountering errors during recovery can derail the entire process. Whether it’s a missing system image or partition conflicts, quick fixes save time and data. Follow these solutions for seamless restoration.
“System image not found” errors often stem from incorrect paths. Verify the backup location or manually browse using PCMag’s guide. Ensure external drives are properly connected.
Secure Boot conflicts may block legacy images. Disable it temporarily in BIOS for older backups. ASUS laptops require specific steps—check their support site for firmware updates.
UEFI/GPT and BIOS/MBR mismatches halt the process. Match the partition style to your original setup. Use DiskPart to convert formats if needed.
Corrupted WindowsImageBackup catalogs trigger failures. Run CHKDSK on the storage device. For severe damage, recreate the backup.
Update-induced failures like KB5017699 demand workarounds. Uninstall the update via Command Prompt (wusa /uninstall /kb:5017699), then retry.
Insufficient space errors require drive cleanup. Delete temporary files or expand partitions. Aim for 20% free space post-restoration.
Boot loops after recovery? Rebuild the boot configuration with bootrec /rebuildbcd. Missing EFI partitions need recreation via Disk Management.
Older system images may lack driver support. Boot into Safe Mode, then install current drivers manually. ASUS provides model-specific packages.
Conclusion
Regular system imaging safeguards against unexpected failures. Unlike basic file backups, this method preserves your entire Windows environment—ideal for full recovery after crashes or malware attacks.
Schedule monthly updates to keep backups current. Tools like Qiling Disk Master automate this process, saving time while ensuring data integrity.
After restoration, verify system stability and reapply critical updates. Pair system images with cloud backups for redundancy. For complex issues, consult ASUS support or IT professionals.
Proactive maintenance prevents disasters. Test backups periodically to confirm they work when needed most.
FAQ
What is a system image?
A system image is a complete snapshot of your hard drive, including the operating system, installed programs, and personal files. It allows full recovery in case of hardware failure or data loss.
How does a system image differ from a regular backup?
Unlike file backups, a system image captures everything on the drive, enabling full restoration. Standard backups only save selected files or folders.
Can I restore a system image to a different computer?
No, restoring to different hardware often causes driver conflicts. Use it only on the original device or identical hardware.
What storage options work best for system images?
External hard drives, network locations, or DVDs are reliable. Ensure the medium has enough space and is formatted correctly.
Do I need a recovery drive to restore from a system image?
Yes, a Windows recovery drive or installation media is required to boot into the recovery environment and initiate the process.
How long does system image restoration take?
Duration depends on data size and drive speed. Larger images may take hours, especially over USB 2.0 or network connections.
What if my system image fails to restore?
Verify the image integrity, check storage media for errors, and ensure the recovery environment detects the backup location correctly.
Will restoring a system image delete my current files?
Yes, the process overwrites the entire drive. Back up recent files separately before proceeding.
End-user computing is about the tech used to manage devices, apps, and data for workers. It’s key to information systems. It lets workers access what they need to do their jobs. With more people working from home and using mobile devices, end-user computing is now essential for businesses. Recent stats show 43% of Americans work…
A “missing operating system” error can be frustrating for computer users. It affects about 20% of Windows users during their computer’s life1. This error stops your computer from booting normally. Various technical issues can cause this problem. Hard disk failures account for 35% of these errors1. Inactive disk partitions contribute to 25% of cases1. This…
Setting up a karaoke system at home is easy with the right tools and software. It lets you have fun with friends and family using your computer. This guide will show you how to set up a karaoke system at home. It covers what you need and how to do it. With a computer karaoke…
Creating a system image backup is a smart way to fix a Windows problem. It keeps your data safe by restoring your system to how it was before. This method makes a full copy of Windows 10 or Windows 11. System image backup is different from File History and Recovery Drive. It saves the whole…
System restore on your computer is easy with the right steps. This guide will show you how to get your computer back to health. Windows makes a restore point every week, which is great for going back to a previous version. System restore is great for fixing problems caused by apps or updates. It can…
Installing a new operating system can seem scary, especially if you’re new to computers. This guide will help you understand the basics of setting up a computer. It will also show you how to pick the right operating system for you. Whether you want Windows, macOS, or Linux, we’ll guide you through it all. It’s…